If you’re new to roller banner printing or want to streamline your production process, this blog (and our handy video!) will walk you through the essentials of how to make a pull up banner. From print setup to installing your banner in a cassette, we’ll cover everything you need to create professional, display-ready results.
Whether you’re producing one banner for a small business or a full run for a large event, getting the process right will save you time, money, and reprints.
Watch the Full Video Tutorial
We’ve put together a practical, step-by-step video showing you how to make a pull up banner from start to finish – including handy tips for media handling, trimming, and loading into cassettes.
Step 1: Choose the Right Pull Up Banner Material
Your banner’s quality starts with your choice of media. At Signmaster, we recommend the SM1 Premium Pull-Up Banner Material – trusted by print professionals for its:
✔️Lay-flat stability (no curling!)
✔️Blockout grey back to prevent light show-through
✔️Scratch-resistant satin finish
✔️Excellent compatibility with solvent, eco-solvent, and UV printers
This ensures your graphic looks sharp, stands tall, and stays durable from event to event.
Step 2: Set Up Your Print File Correctly
Before you hit “print,” make sure your artwork is ready to go:
✔️Set the artwork to the correct dimensions (usually 850mm x 2000mm or 1000mm x 2000mm, depending on your cassette size)
✔️Add 50–100mm of bleed at the bottom for cassette loading
✔️Use CMYK colour mode for accurate print results
✔️Ensure text and key content stay at least 50mm away from the top and bottom edges
Export your design as a high-resolution PDF for best results.
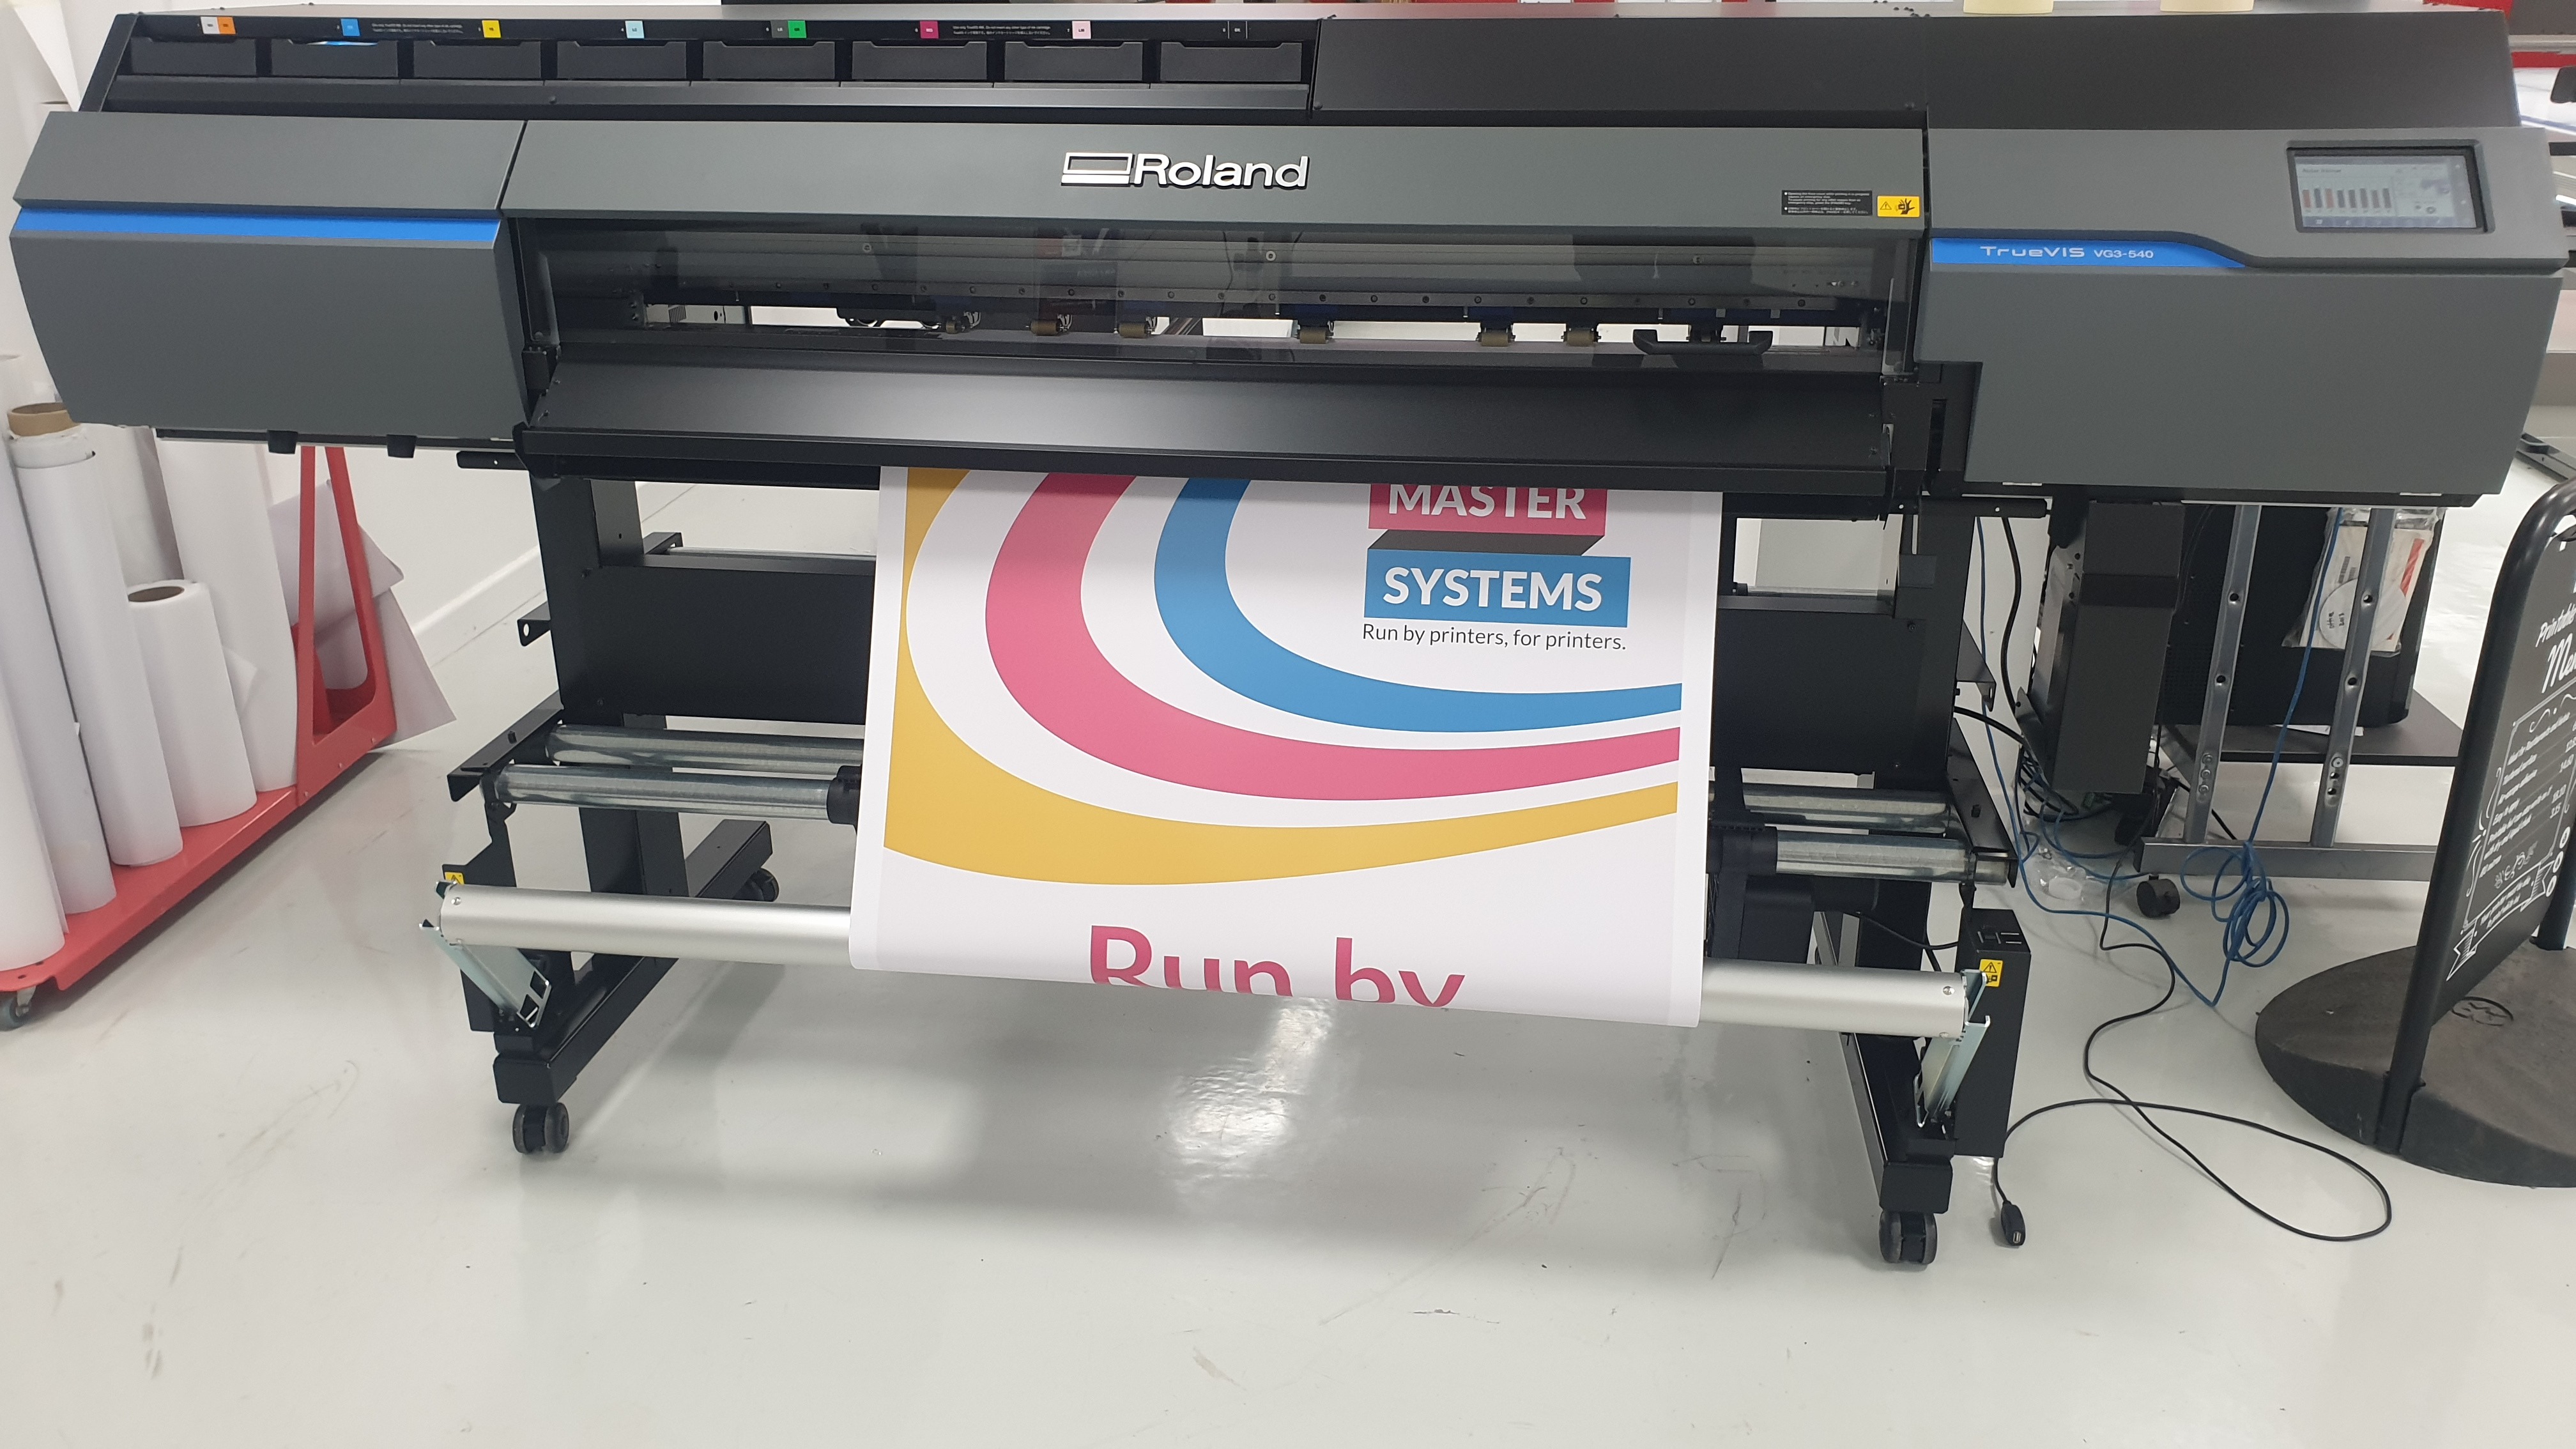
Step 3: Print Your Banner
Load the SM1 roller banner material into your wide format printer and use the appropriate ICC profile and settings for your ink type. For most machines, a high-pass, high-quality setting is recommended to get deep blacks and rich colours.
Let the print fully dry before moving on to finishing.
Step 4: Trim and Finish Your Banner
Using a rotary trimmer or straight edge, trim your banner to size – remember to keep that extra bottom bleed for loading into the cassette.
Recommended: Trimalco Athena 3 Cutting Rail
Tested and Approved by the Signmaster Team 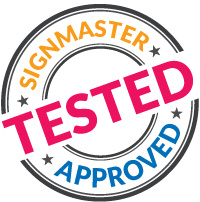
We don’t just sell materials – we use them. The SM1 has undergone extensive testing by our technical team across multiple machines and ink types. We’ve also trialled it in real-world display conditions to ensure it performs as promised.
You can count on SM1 to provide reliable, professional results every time.
Step 5: Load into Your Pull Up Banner Cassette
Now it’s time to bring everything together.
Choose the cassette that suits your client’s needs:
-
SM1 Everyday Cassette – cost-effective and lightweight
-
SM1 Enhanced Cassette – premium, reusable feel
-
Origin Eco Cassette – eco-friendly and plastic-free
Steps to load:
-
Pull out the graphic leader from the cassette
-
Attach the bottom of your banner using strong double-sided banner tape
-
Roll the graphic in slowly, guiding it evenly into the mechanism
-
Attach the top to the rail or clip bar
-
Insert the support pole and pull the banner up to check tension
That’s it – you’ve made a professional-quality pull up banner!
📦 Ready to Try It?
You can order Pull-Up Banner Material and cassettes from our online store. Simply click on the button below to be redirected to Signmaster's Online Store
Or contact our team, you can do this via telephone on 01948 800389, via email at inksandmedia@signmastersystems.co.uk or by clicking on the button below and filling out a short form.